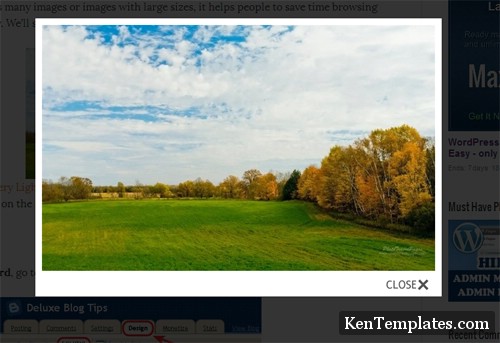
Lightbox is a simple, unobtrusive script used to overlay images on the current page. The Lightbox effect is useful when your post has many images or images with large sizes, it helps people to save time browsing images in an impressive way. We’ll see how to add Lightbox effect to Blogger (blogspot) blogs.

We are going to use the jQuery Lightbox plugin for Blogger. And before going into detail, you might want to see Lightbox in action
How to install
Login to Blogger Dashboard, go to Template, Edit HTML => Proceed: Stick: Expand Widget Templates
And add the following code right before the </head> tag:
How to use
Once you’ve done the installation, whenever you want to add Lightbox effect, switch editor mode to HTML, and wrap the image IMG tag inside a A tag as the following code:
 Using Lightbox in blog posts is a good way to keep visitors not browsing to other pages for just viewing images. One of other advantages of using Lightbox is that you can use thumbnails in post content instead of full-size images, that reduces total size of page, thus reduces page loading time.
Notice:
You should off Showcase images with Lightbox (NO) in Blogger => Setting => Post and Comments.

We are going to use the jQuery Lightbox plugin for Blogger. And before going into detail, you might want to see Lightbox in action
How to install
Login to Blogger Dashboard, go to Template, Edit HTML => Proceed: Stick: Expand Widget Templates
Search ]]></b:skin> insert this code before:
/* LightBox by KenTemplates.com */
#jquery-overlay{position:absolute;top:0;left:0;z-index:90;width:100%;height:500px}
#jquery-lightbox{position:absolute;top:0;left:0;width:100%;z-index:100;text-align:center;line-height:0}
#jquery-lightbox a,#jquery-lightbox a:hover{border:none}
#jquery-lightbox a img{border:none}
#lightbox-container-image-box{position:relative;background-color:#fff;width:250px;height:250px;margin:0 auto}
#lightbox-container-image{padding:10px}
#lightbox-loading{position:absolute;top:40%;left:0%;height:25%;width:100%;text-align:center;line-height:0}
#lightbox-nav{position:absolute;top:0;left:0;height:100%;width:100%;z-index:10}
#lightbox-container-image-box > #lightbox-nav{left:0}
#lightbox-nav a{outline:none}
#lightbox-nav-btnPrev,#lightbox-nav-btnNext{width:49%;height:100%;zoom:1;display:block}
#lightbox-nav-btnPrev{left:0;float:left}
#lightbox-nav-btnNext{right:0;float:right}
#lightbox-container-image-data-box{font:10px Verdana,Helvetica,sans-serif;background-color:#fff;margin:0 auto;line-height:1.4em;overflow:auto;width:100%;padding:0 10px 0}
#lightbox-container-image-data{padding:0 10px;color:#666}
#lightbox-container-image-data #lightbox-image-details{width:70%;float:left;text-align:left}
#lightbox-image-details-caption{font-weight:bold}
#lightbox-image-details-currentNumber{display:block;clear:left;padding-bottom:1.0em}
#lightbox-secNav-btnClose{width:66px;float:right;padding-bottom:0.7em}
And add the following code right before the </head> tag:
<script src="http://ajax.googleapis.com/ajax/libs/jquery/1/jquery.min.js" type="text/javascript"></script>This will add the CSS and JS files into your template. These files are hosted in my Google Code project, but you can download them (with links above) and save into your favorite host.
<script src="http://kentemplates.googlecode.com/files/lightbox.min.js" type="text/javascript"></script>
How to use
Once you’ve done the installation, whenever you want to add Lightbox effect, switch editor mode to HTML, and wrap the image IMG tag inside a A tag as the following code:
<a href="url of the full-size image"><img src="url of the thumbnail" /></a>

Notice:
You should off Showcase images with Lightbox (NO) in Blogger => Setting => Post and Comments.
Tags:
Blogger Tutorial
